Introduction
Embroidery machines and software use different file formats, and sometimes you need to convert between them. If you have a HUS file (used by Husqvarna/Viking machines) but need it in EXP (Melco/Bernina), JEF (Janome), or VP3 (Brother), you might worry about losing stitch quality.
The good news? With the right HUS file converter tools and techniques, you can convert HUS files without sacrificing detail or precision. In this guide, we’ll cover the best methods, recommended software, and pro tips to ensure flawless conversions.
Understanding HUS, EXP, JEF, and VP3 Formats
Before converting, let’s break down these common embroidery file types:
HUS – Native to Husqvarna/Viking embroidery machines.
EXP – Used by Melco, Bernina, and some commercial machines.
JEF – Janome’s primary embroidery format.
VP3 – A Brother embroidery file format (similar to PES).
Each format stores stitch data differently, so converting requires careful handling to avoid misaligned stitches or missing details.
Best Ways to Convert HUS to EXP, JEF, or VP3
1. Use Dedicated Embroidery Software
Specialized digitizing software ensures the cleanest conversions. Here are the top options:
Wilcom EmbroideryStudio
Pros: Industry-standard, supports all major formats, high precision.
Cons: Expensive, steep learning curve.
Hatch Embroidery
Pros: User-friendly, great auto-digitizing, supports HUS to EXP/JEF/VP3.
Cons: Subscription-based, not free.
Embird
Pros: Affordable, supports multiple formats.
Cons: Some manual adjustments needed.
SewWhat-Pro & SewArt
Pros: Budget-friendly, decent conversion quality.
Cons: Limited advanced features.
2. Online File Converters (Quick & Easy)
If you need a fast solution, try these online tools:
MyEditor Online (Supports HUS to JEF, PES, DST)
EmbroideryWarehouse Converter (Basic format conversions)
StitchBuddy (Mac users)
⚠️ Warning: Online converters may not preserve complex stitch details. Use them for simple designs only.
3. Manual Re-Digitizing (For Best Quality)
If auto-conversion distorts your design, manually re-digitizing ensures perfection. Here’s how:
Open the HUS file in your embroidery software.
Export as a vector file (SVG, AI) if possible.
Re-import and manually adjust stitch types, underlay, and density.
Save in the new format (EXP, JEF, or VP3).
Pro Tips to Maintain Quality During Conversion
✔️ Check Stitch Density & Underlay
Some formats handle density differently. Adjust if stitches look too tight or loose.
✔️ Verify Thread Colors
Color codes may shift between formats. Double-check before stitching.
✔️ Test on Scrap Fabric
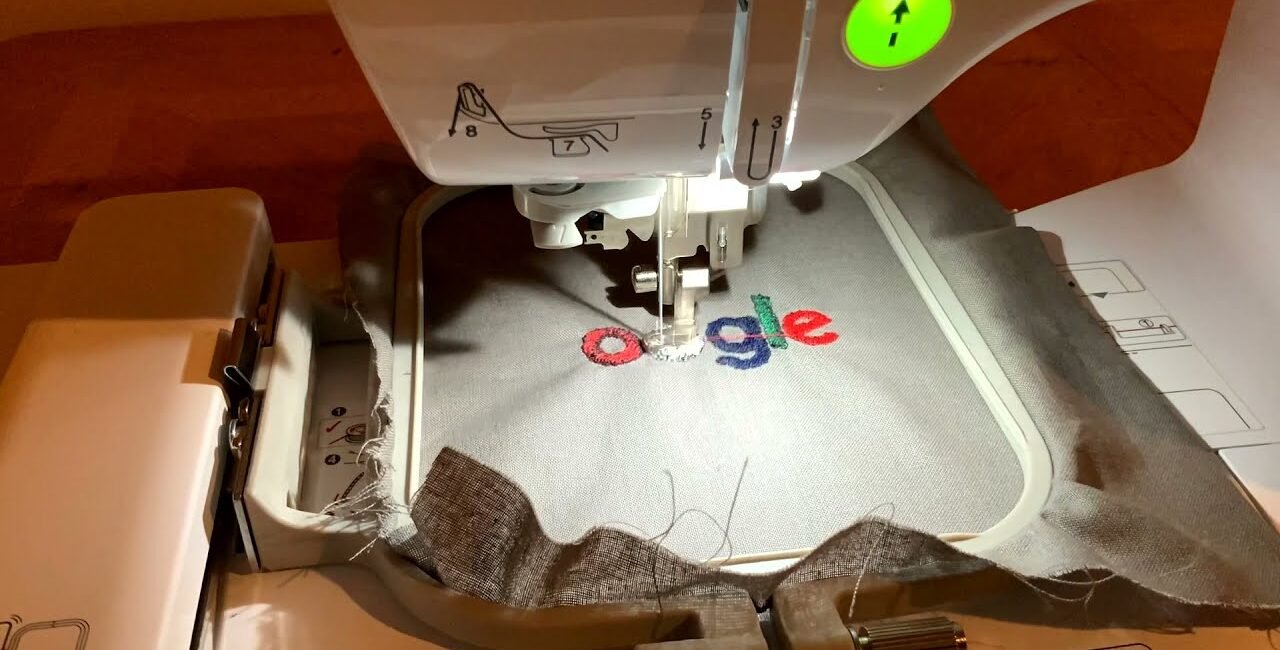
Always stitch a sample to catch errors before final production.
✔️ Avoid Multiple Re-conversions
Converting a file multiple times degrades quality. Work from the original HUS file when possible.
Common Conversion Problems & Fixes
❌ Stitches Are Misaligned
Solution: Adjust pull compensation in your software.
❌ Design Loses Details
Solution: Manually re-digitize complex sections.
❌ Thread Breaks or Loops
Solution: Reduce stitch density or change stitch type.
❌ Machine Doesn’t Recognize the File
Solution: Ensure you’ve exported in the correct format (e.g., VP3 for Brother).
Free & Low-Cost Alternatives
If you don’t want to invest in expensive software, try:
Ink/Stitch (Free Inkscape extension)
Embrilliance Essentials (Limited free version)
MyEditor Free Trial (Temporary conversions)
These tools may not be as precise as premium software but work for basic designs.
Conclusion
Converting HUS files to EXP, JEF, or VP3 doesn’t have to mean losing quality. By using the right software, testing designs, and making manual adjustments when needed, you can ensure smooth, high-quality embroidery every time.
Whether you choose professional software, an online converter, or manual digitizing, always test your file before stitching the final piece. Now you’re ready to convert with confidence—happy embroidering!